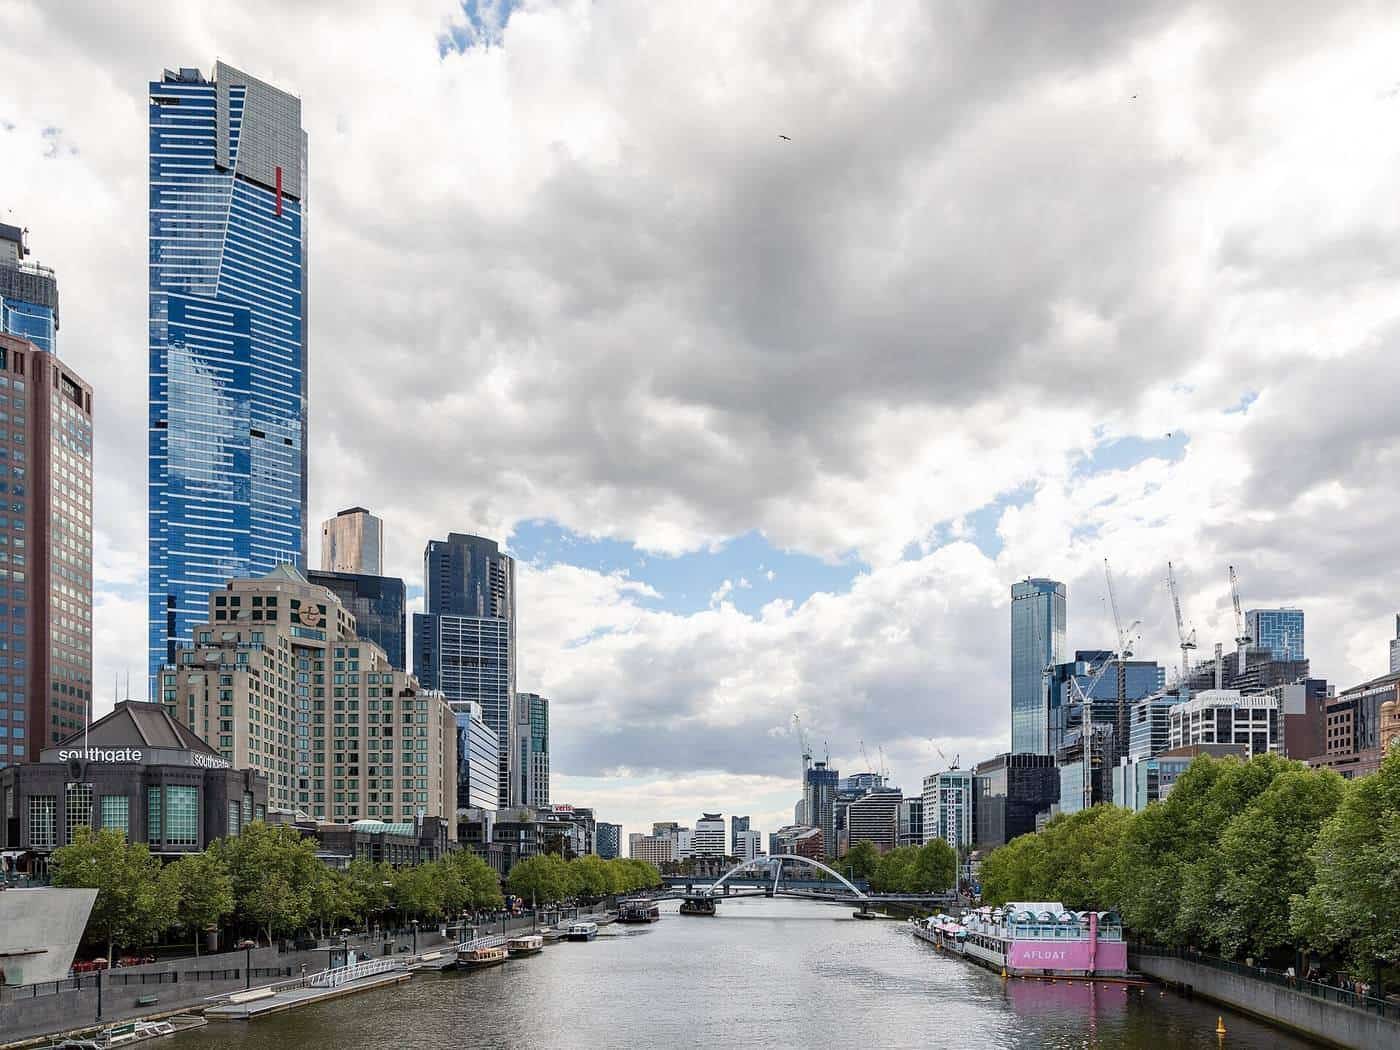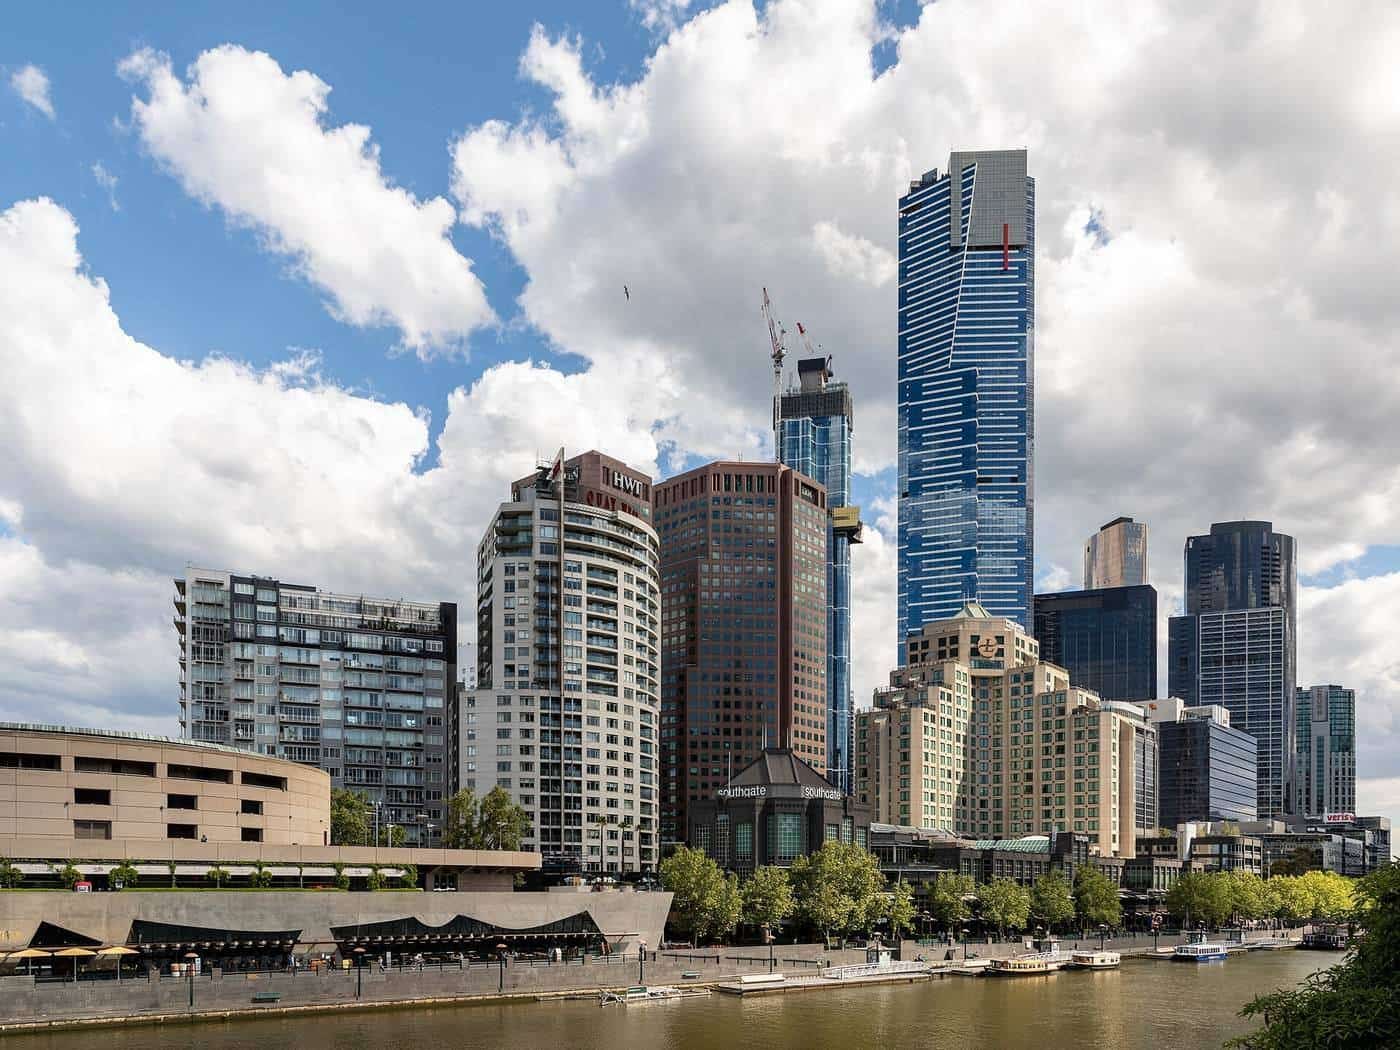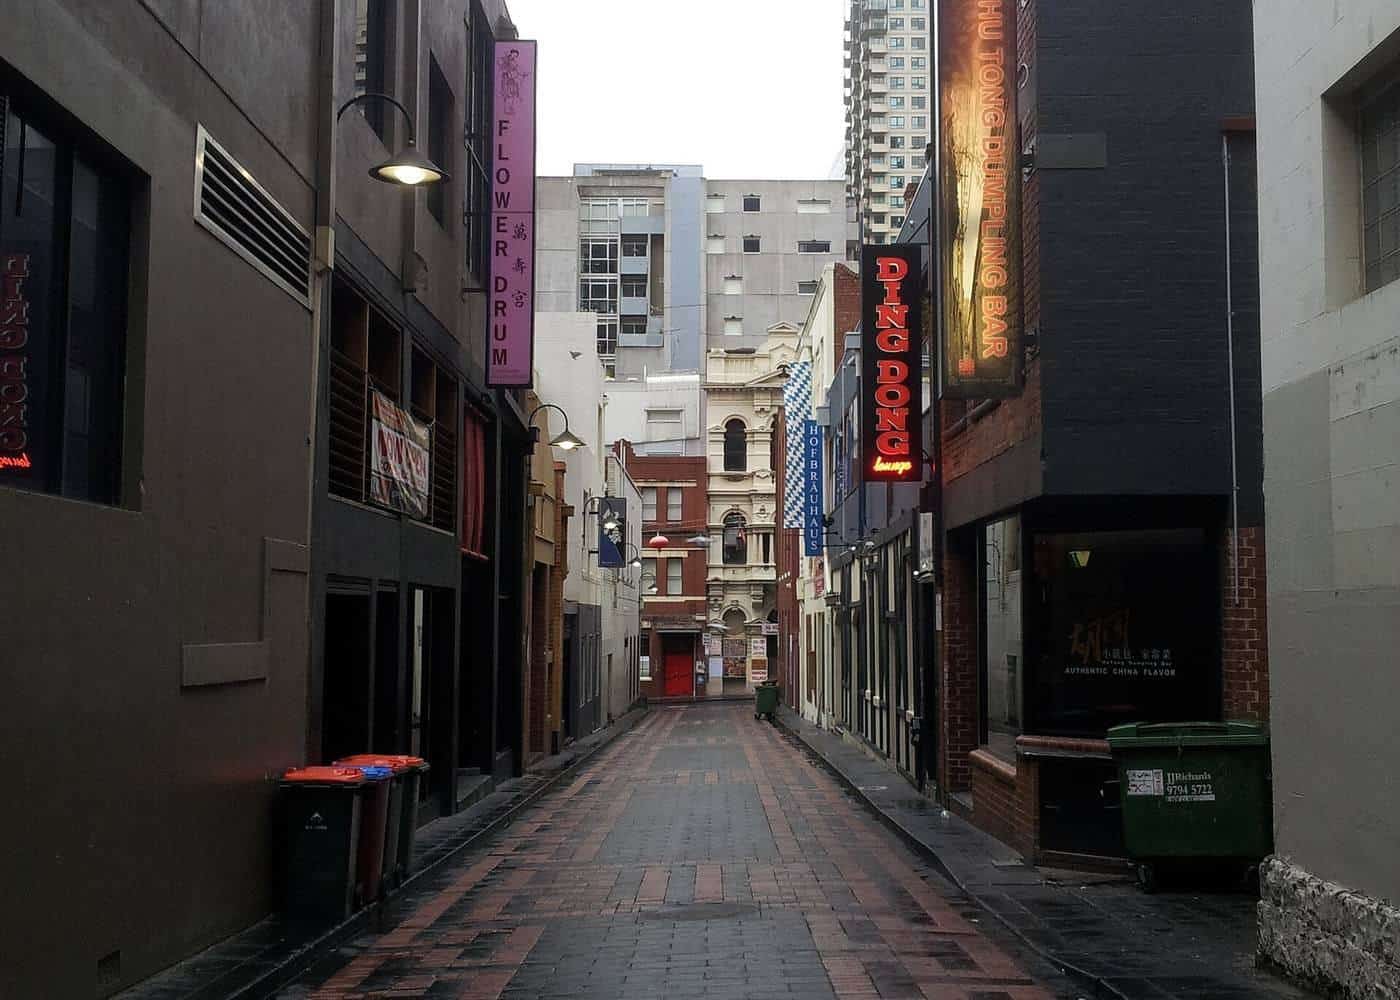
Melbourne at night is a different city. Trams glide through lit streets, the river reflects the towers, laneways glow with signs and string lights, and the bay turns deep blue after sunset. Night photography takes a little more technique than daytime shooting, but the results are worth it. This guide covers timing, settings, equipment, phones, light trails and staying safe.
This guide is general information written in our own words, based on the sources listed at the end. It isn't legal advice. Rules, permit conditions and access arrangements change, so check with the land manager or authority before a shoot, especially if it's paid work. We're an independent site and aren't connected with any council, park manager or photography business.
Timing: start at blue hour
The best “night” photos are often taken before it’s fully dark. During blue hour, the sky is deep blue and city lights are on, so the sky and the buildings have similar brightness. Once the sky goes black, contrast increases and the sky loses detail. Use our golden hour calculator to find blue hour for your date, and arrive early to set up. Geoscience Australia defines civil twilight as ending when the sun’s centre is 6 degrees below the horizon; much of the best blue light falls in the second half of civil twilight.
Equipment
- A tripod lets you use long exposures with a low ISO for clean, sharp images. A small travel tripod or a clamp works too.
- A remote release or self-timer avoids shaking the camera when you press the button.
- A lens hood reduces flare from street lights.
- A torch or headlamp helps you see controls and your footing.
- Spare batteries, because cold and long exposures drain them faster.
Starting settings
These are starting points; adjust to suit the scene:
- Mode: manual or aperture priority.
- ISO: 100 to 400 on a tripod; higher if handheld.
- Aperture: around f/8 for sharpness across the scene and starburst effects on lights.
- Shutter speed: from about 1 second to 30 seconds on a tripod.
- Focus: use live view to focus manually on a bright light or edge.
- White balance: auto is fine, or set it lower for cooler tones.
- File format: raw, if you can, for more room to adjust later.
Check your screen and the histogram, and adjust exposure until highlights keep detail.
Light trails
Long exposures turn car and tram lights into streaks. Find a safe spot overlooking a busy street or bridge, set an exposure of several seconds, and time it as traffic passes. Never stand on roads or tram tracks for a shot.
Reflections
Water and wet streets double the light. Rivers and lakes give the best reflections on calm nights; laneways and footpaths after rain give colourful reflections. A long exposure smooths small ripples.
Phones
Modern phones are very capable at night:
- Use night mode, and hold the phone still for the full capture.
- Rest the phone on a railing, wall or small tripod.
- Tap to focus and expose, and slide exposure down to keep highlights.
- Clean the lens; smudges cause flare around lights.
- Avoid digital zoom; step closer instead.
Composition at night
- Look for a strong light source or lit subject as a focal point.
- Include some sky during blue hour for colour.
- Use leading lines, such as tram tracks, lit roads or bridges.
- Watch for dark areas that become blank shapes; frame around them.
Tripods in public places
At night, footpaths are less crowded, but tripods can still trip people. Arts Law notes that impeding traffic in a public place may amount to obstruction. Set up out of the main flow, keep legs tucked in and stay with your gear. Larger shoots may need a City of Melbourne permit. See our permits guide.
Wildlife and flash
Avoid flash on wildlife, such as the penguins at the St Kilda breakwater, or on birds and possums in parks. Flash can disturb animals, and guidance at many wildlife sites asks visitors not to use it.
Staying safe
- Go with a friend when you can, and tell someone your plans.
- Choose well-lit, busy areas.
- Keep gear in a discreet bag and don’t leave it unattended.
- Be aware of traffic and cyclists when focused on your screen.
- Check the weather; Bureau of Meteorology forecasts help avoid being caught in storms.
Practising deliberately
Skills improve fastest with deliberate practice. Pick one technique for each outing, such as blue hour exposures, reflections or candid portraits, and focus on it. Review your photos afterwards, note what worked and what didn’t, and go back to try again. Small, regular sessions teach more than occasional big trips.
Editing lightly
Good editing enhances what you saw rather than replacing it. Start with straightening, cropping and exposure, then adjust white balance, contrast and colour. Be careful with heavy filters and over-sharpening. If you photograph people, avoid edits that distort how they look without their agreement, and be honest when a composite or heavy edit is presented.
Backing up your photos
Keep at least two copies of photos that matter, ideally in different places, such as an external drive and a cloud service. Copy cards to your computer soon after each shoot, and don’t format a card until you’ve confirmed the backup. For paid work, a careful backup routine is part of a professional service.
Learning from others
Melbourne has camera clubs, photo walks, workshops, exhibitions and online communities where you can learn and share. Looking at other people’s work, and asking how it was made, is one of the fastest ways to improve. Be generous with feedback, and credit others when you borrow an idea or location.
Choosing gear
You don’t need expensive equipment to make good photos. A modern phone handles most situations well. If you upgrade, a camera with manual controls, a versatile lens and a small tripod covers most of the techniques in this guide. Before buying, think about what limits your photos now, and buy for that need rather than for features you won’t use.
How we write our guides
Every guide on this site is written in our own words from official and expert sources, such as the Arts Law Centre of Australia, the City of Melbourne, Royal Botanic Gardens Victoria, Parks Victoria, CASA, Geoscience Australia, the Bureau of Meteorology and the ACCC. We link to each source at the end of the page. We never invent statistics, quotes, prices or reviews, and we don’t accept payment to change what our guides say.
About this site
Photography Melbourne is an independent guide to photographing Melbourne: where to go, when the light is best, the rules that apply and how to work respectfully. We’re not a photography business, council, park manager or government agency, and we don’t sell or rank photographers or equipment. Our guides are general information with sources listed on every page.
Corrections and feedback
We review our guides against their sources and show the date each page was last checked. If you notice something out of date or incorrect, such as a change to a permit process or CASA rule, please tell us through our contact page. We read every message and correct mistakes promptly.
Plan with the golden hour calculator
Our free golden hour calculator shows sunrise, sunset, golden hour and blue hour for central Melbourne on any date, in Melbourne local time. It runs entirely in your browser, and nothing you enter is sent anywhere.
Staying safe after dark
Night photography means being out late, often alone, with valuable gear. Plan your route and return trip in advance, check public transport timetables and stay in well-lit areas where possible. Tell someone where you are going, and keep your phone charged. Set up in places where your tripod won’t block footpaths or bike lanes, and keep bags closed and close to you. In parks and reserves, check opening hours with the land manager: some gardens close at night, and Parks Victoria lists closures and conditions for the areas it manages. Near water, take care on piers and riverbanks where edges are hard to see. Weather also matters at night; dew or light rain can fog a lens during a long exposure, so carry a cloth and a lens hood. A head torch with a red-light mode helps you see your settings without spoiling your night vision or shining into other people’s eyes. And be considerate with flash and lights in residential streets, where people are trying to sleep.
Key points
- Start at blue hour, when the sky still has colour and city lights are on.
- A tripod lets you use low ISO and long exposures for clean, sharp images.
- Start around ISO 100–400, f/8 and several seconds, then adjust.
- Phone night modes work well if you hold the phone very still.
- Keep tripods out of the way, avoid flash on wildlife and stay safe.
Frequently asked questions
What settings should I use for night city photos?
On a tripod, a low ISO such as 100 to 400, an aperture around f/8 and an exposure of several seconds is a common starting point. Adjust from there.
Can I take good night photos on a phone?
Yes. Most modern phones have night modes that combine several exposures. Hold the phone very still or rest it on something.
When is the best time for night photos?
Often blue hour, just after sunset, when the sky still has colour and city lights are on.
Is it safe to photograph at night in Melbourne?
Stick to well-lit, busy areas, stay aware of your surroundings and keep gear secure.
Sources and further reading
Facts on this page were checked against these primary and official sources. Conditions change — confirm before you travel or buy.
- Astronomical definitions — Geoscience Australia
- Street photographer's rights — Arts Law Centre of Australia
- Filming permits — City of Melbourne
- Melbourne forecast — Bureau of Meteorology